Ubuntu Guide for Backup and Sync Files With Grsync
Many people care about their important data after they vanished or destroyed in some cases. Backing up data is one of the method to keep it secure. While having a backup storage it’s difficult to check and transfer only the files we’ve changed.
There are many tools for automatically sync the changed files and keep local and backup synchronized. My favorite tool in linux is Grsync. which is a simple GUI for powerful rsync program. I’m using Grsync in Ubuntu 11.10 and It’ll work on all other versions and distros.
First open Ubuntu Software Center, search for Grsync and Install it.
[lbfenix img=”http://i1134.photobucket.com/albums/m608/irfadraz/grsync/InstallingGrsync.png”] [/lbfenix]
I created two folders in my desktop assuming Data is where I keep my data locally and Backup for backing up data from Data folder.
[lbfenix img=”http://i1134.photobucket.com/albums/m608/irfadraz/grsync/Datasource.png”]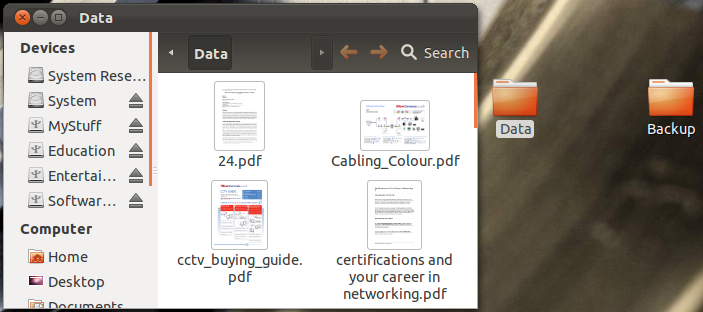 [/lbfenix]
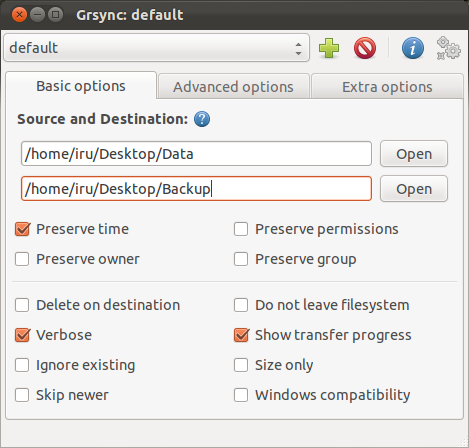
Now open Grsync and set the Source and Destination folders.
[lbfenix img=”http://i1134.photobucket.com/albums/m608/irfadraz/grsync/opengrsync.jpg”]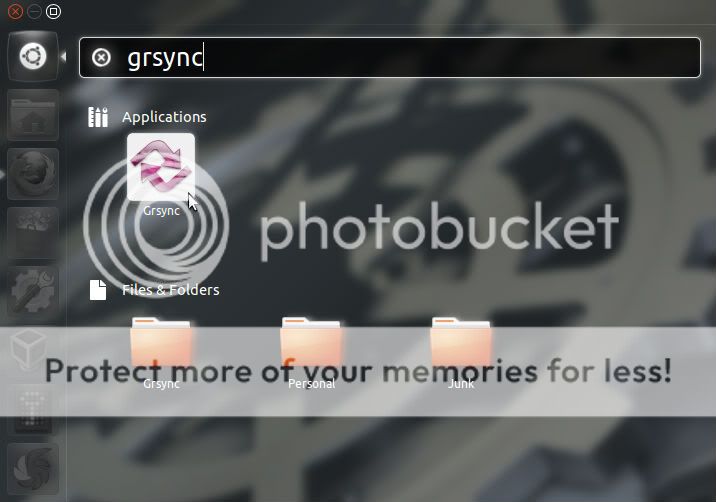 [/lbfenix]
Before we start synchronizing we can check what are the files will be copied in the destination folder by clicking the blue icon on top right.
[lbfenix img=”http://i1134.photobucket.com/albums/m608/irfadraz/grsync/showwhatarethefileswillbecopied.jpg”]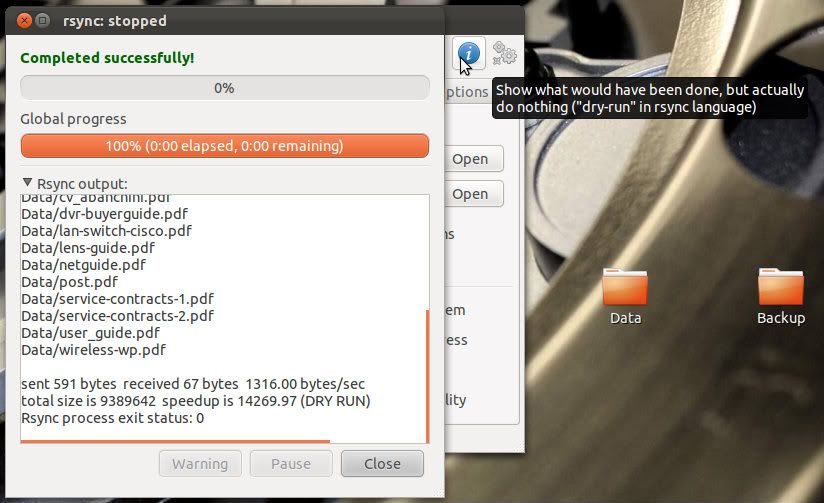 [/lbfenix]
After verifying the files we can start the sync process by clicking the gear icon on top right.
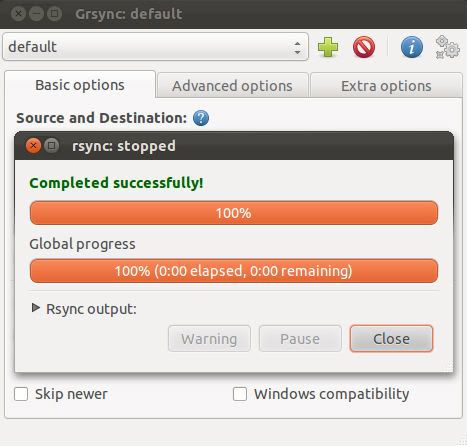
Now all data is synchronized successfully. You can see the copied data in the destination folder.
[lbfenix img=”http://i1134.photobucket.com/albums/m608/irfadraz/grsync/Dataaftersync.png”]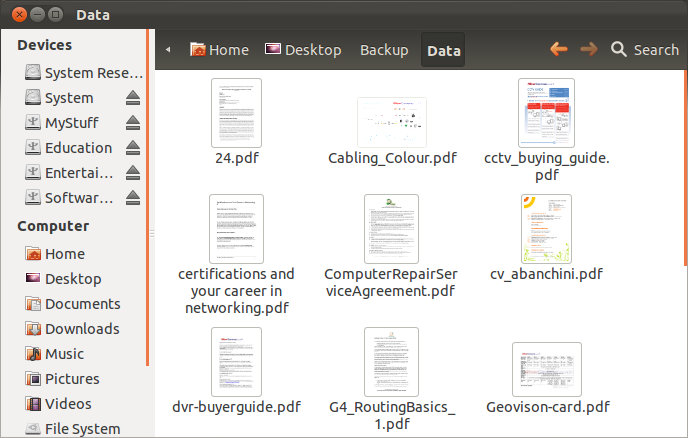 [/lbfenix]
Enjoy! 🙂
Lynx – A Text based Web Browser for Linux
Twitter Look on 11.11.11 :: Once in a Lifetime [video]
