ZPanel – Installing & setting-up on Ubuntu
ZPanel is a free web hosting manager similar to cPanel. This amazing host manager is a will work effortlessly with Microsoft, UNIX/LINUX or Mac OSX workstations (desktop or server based). This can turn a home or professional server into a fully fledged, easy to use and manage web hosting server. All you need is a fresh installation with no any other web related services installed (e.g.: apache, mysql, php, postfix… etc). Because, ZPanel will install those dependencies while installing the main package.
Installation Instructions
I would suggest you to read this before installing as it clearly explains the requirements to install. As per ZPanel, they also suggest to use an FQDN (fully qualified domain name) and pointing an A record to the specified domain under the domain DNS list. Once done use the below steps to install ZPanel in your server/desktop.
- Log in to your server as root user
[box] sudo su (enter the root password when it prompts you to enter) [/box]
- Update your repositories with apt-get
[box] sudo apt-get update [/box]
- Make sure you’re in “/root/” directory by using “pwd” command. If not simply enter;
[box]cd or type cd /root/ which will change you to the root directory [/box]
- And download the installer. In my case, I’m using a 64bit server; therefore (
[box] 64bit – > wget https://github.com/bobsta63/zpanelx/releases/download/10.1.0/installer-10-1-0-ubuntu-64.sh.x
32bit -> wget https://github.com/bobsta63/zpanelx/releases/download/10.1.0/installer-10-1-0-ubuntu-32.sh.x [/box]
- Once downloaded, make the installer executable;
[box] 64bit -> chmod +x installer-10-1-0-ubuntu-64.sh.x
32bit -> chmod +x installer-10-1-0-ubuntu-32.sh.x [/box]
- Also, install required packaged
[box] apt-get install curl at [/box]
- Follow with the installation of ZPanel
[box] 64bit -> ./installer-10-1-0-ubuntu-64.sh.x
32bit -> ./installer-10-1-0-ubuntu-32.sh.x [/box]
That’s it!! Installer will start to install the necessary packages & files. While installing, the process may go through some of the questionnaires. Follow this link on how to answer the questions. You may also refer this article which explains the same installation method. (Note: To assign the timezone for php while installing, refer this link).
At the end of the installation server will reboot displaying the login credentials for ZPanel as seen below.
[lbfenix img=”https://www.geeklk.com/wp-content/uploads/2013/10/zpanel-final-output-geeklk.png”]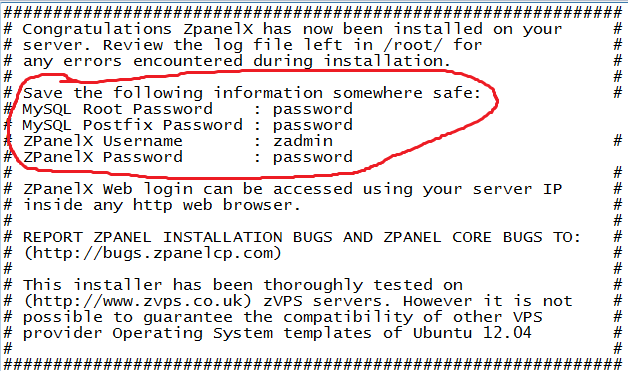 [/lbfenix]
[lbfenix img=”https://www.geeklk.com/wp-content/uploads/2013/10/zpanel-passwd-info-geeklk.png”]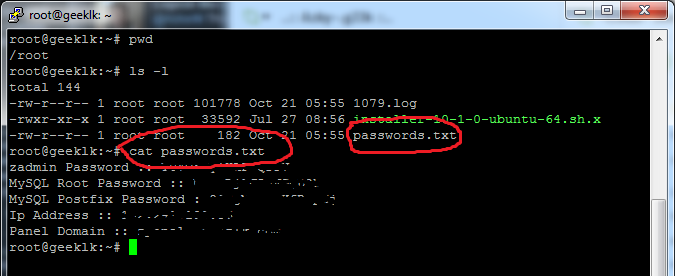 [/lbfenix]
That’s it!! You’re done with the installation. Once the server is restarted you can either access via IP of the server or the provided FQDN. Both way you can access with the given password for ZPanel.
Random Screens
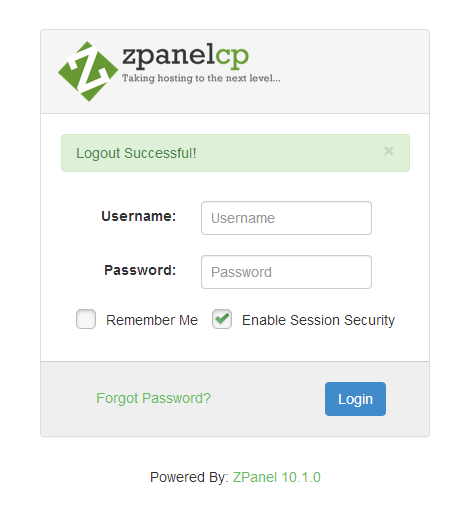
ZPanel CP ~ Admin / Client Login
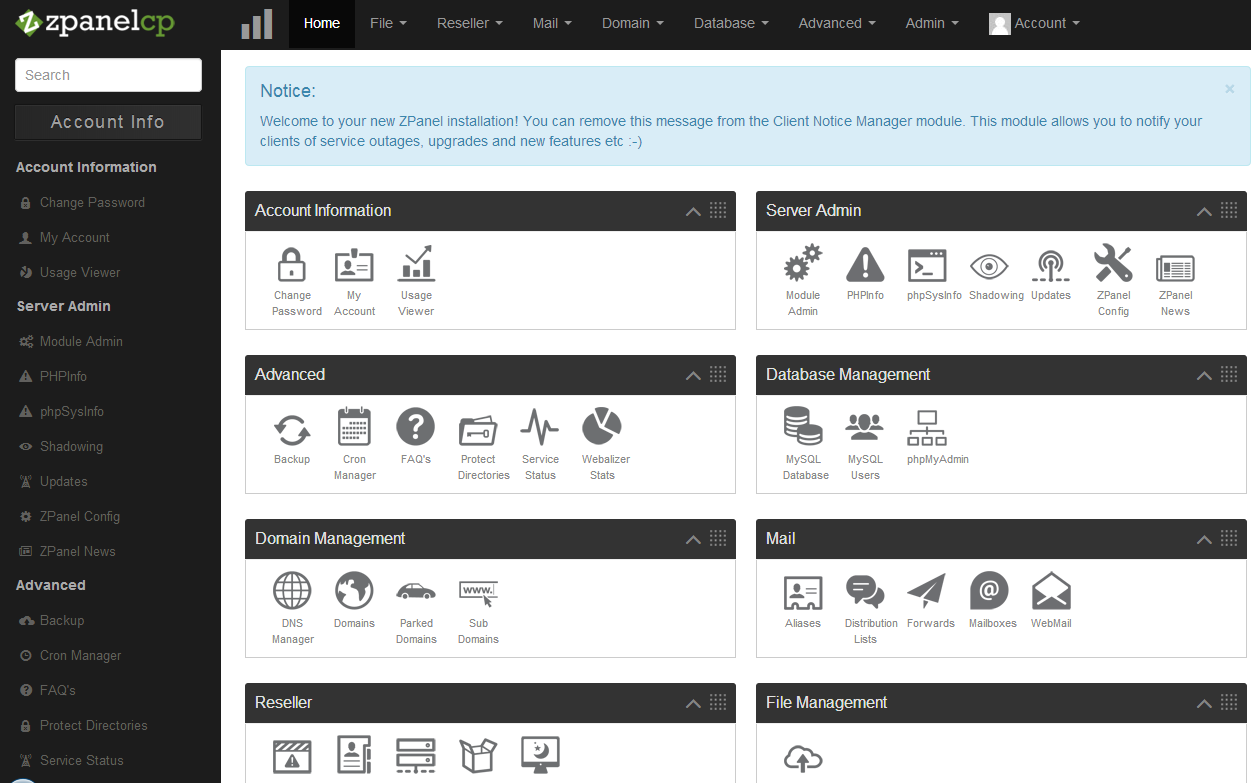
ZPanel Home ~ Admin View
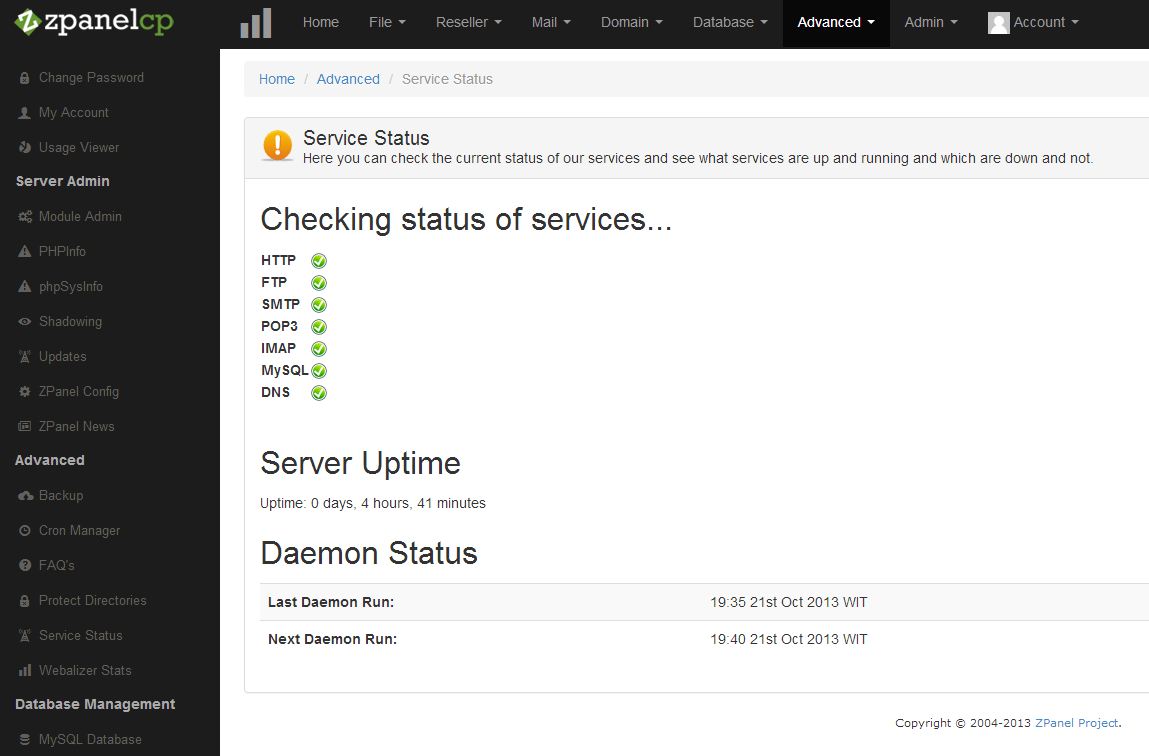
ZPanel ~ Service Status

ZPanel ~ Usage View (Unlimited Plan)
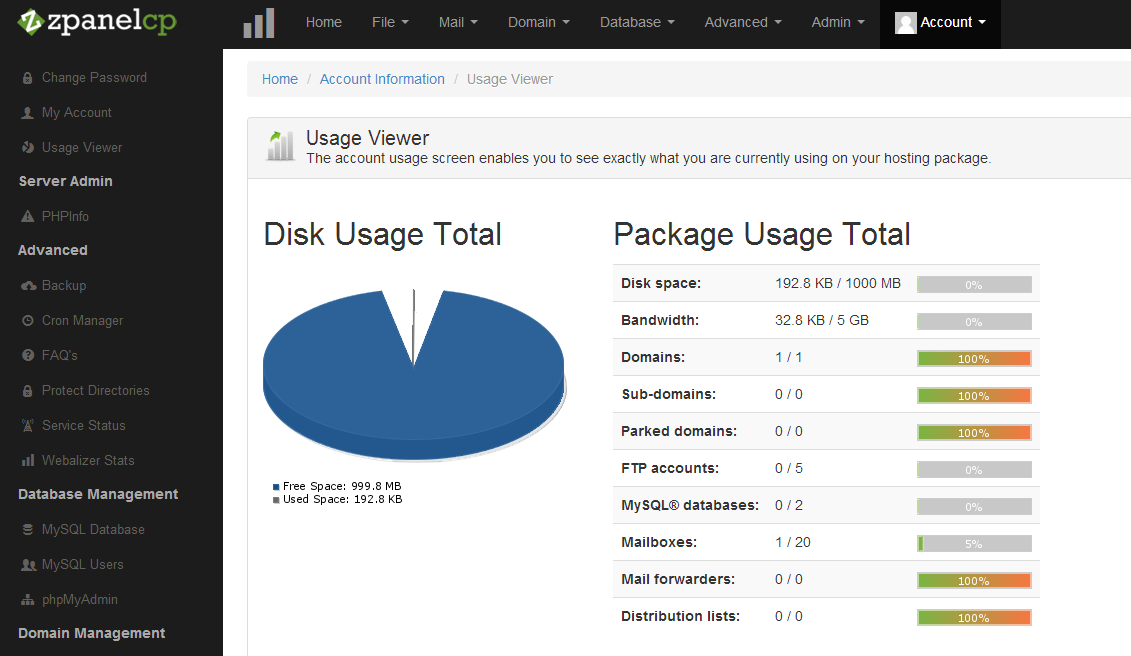
ZPanel ~ Usage View (Limited)
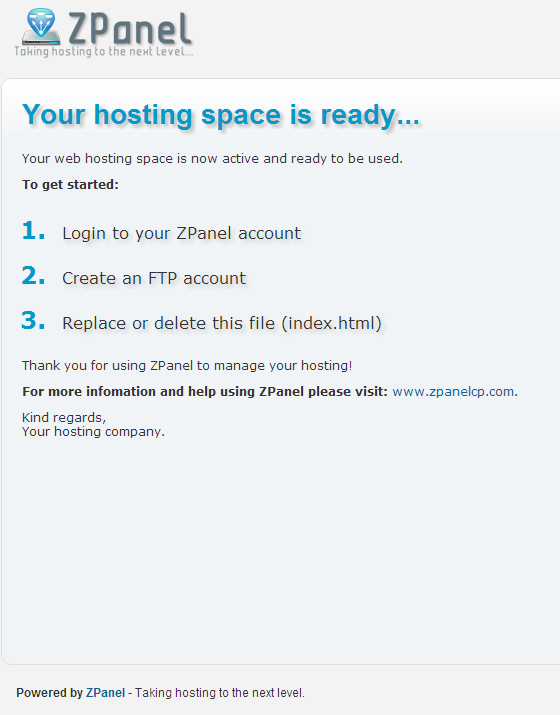
Zpanel ~ Sample Index page on a virtual host
[box] Useful Links: Instruction before installation, Installation, Security Fix, PHP Timezone [/box]
The Nexus 5 :: Image leaked on Google Play store
Dialog i35 :: A walk-through review

An IT professional living far away from the pearl of Indian ocean. A Telecom nomad moved towards networking & hospitality IT building elegant resort in the romantic island of Maldives. An open-source fanatic, a geek and yes! a minion fan. I prefer football & popcorn ^_^
Thanks.!